Spring大家族真热闹
微服务绕不开java系,Spring家族名目繁多,有 Spring Framework, Spring Boot, Spring Cloud等。看下官网的介绍:
From configuration to security, web apps to big data—whatever the infrastructure needs of your application may be, there is a Spring Project to help you build it. Start small and use just what you need—Spring is modular by design.
翻译过来就是:从配置到安全,从web应用到大数据–无论你的应用基础架构如何,总有一个Spring对应的项目能帮你实现。Spring是基于微服务化来实现与设计的。
也就是Spring不是一个大而全的东西,而是针对每个具体的应用场景,实现与之相匹配的框架。方便开发人员快速实现自己的功能。
看下Spring种类:
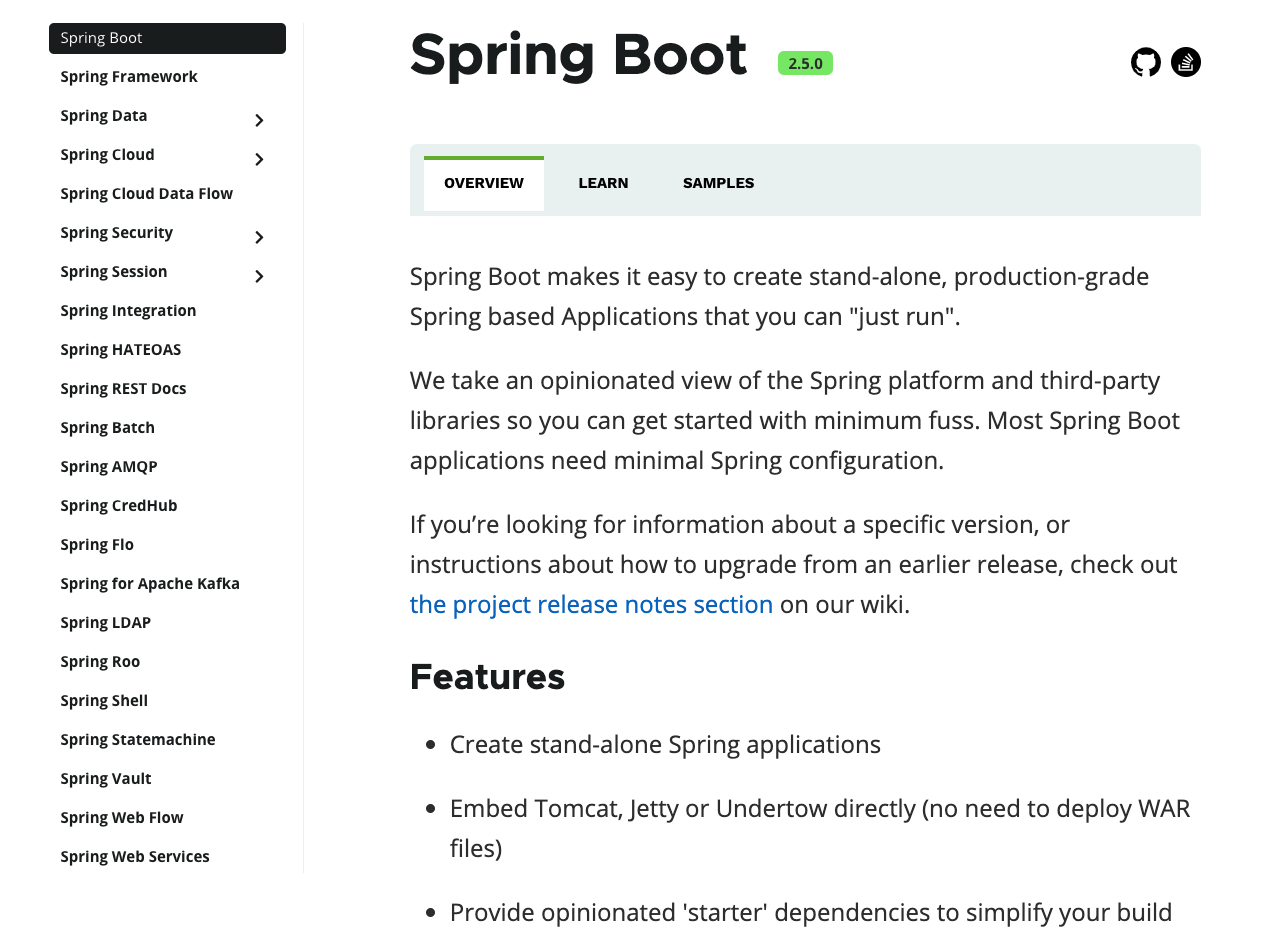
可以看到Spring家族真是热闹,这就是为什么国内开发人员能占到百分这七八十的原因,因为它针对每种类型的业务场景都提供了成熟的框架,生态很成熟。
这里重点介绍下SpringBoot。
SpringBoot
SpringBoot: 微服务开发框架,针对小型应用,因为小,所以开发周期可以很快。
Github官网上有55k的star。
官方https://start.spring.io/可以根据你所需的java版本、依赖直接生成基础的开发包。类似于Kubebuilder提供的脚手架。
阿里也有类似的平台,可以直接在线运行,或是下载你的脚手架代码。
如果是在线学习SpringBoot,可以使用阿里的在线学习平台。
maven
安装: brew install maven
maven是一个中央仓库,也叫私服,用于管理插件。类似的工具还有Gradle。
依赖会通过官方仓库下载,阿里提供国内的镜像源。也可以自行通过 Nexus 来搭建自己的仓库。
mvn 是一个本地执行的命令,下载的依赖会保存在本地,当本地不存时,会从网上下载。
本地包路径: ~/.md2。
一个标准的maven项目:
a-maven-project
├── pom.xml
├── src
│   ├── main
│   │   ├── java
│   │   └── resources
│   └── test
│       ├── java
│       └── resources
└── target
pom.xml文件,描述了project的结构及依赖。
<project ...>
	<modelVersion>4.0.0</modelVersion>
	<groupId>com.itranswarp.learnjava</groupId>
	<artifactId>hello</artifactId>
	<version>1.0</version>
	<packaging>jar</packaging>
	<properties>
        ...
	</properties>
	<dependencies>
        <dependency>
            <groupId>commons-logging</groupId>
            <artifactId>commons-logging</artifactId>
            <version>1.2</version>
        </dependency>
	</dependencies>
</project>
其中,groupId类似于Java的包名,通常是公司或组织名称,artifactId类似于Java的类名,通常是项目名称,再加上version,一个Maven工程就是由groupId,artifactId和version作为唯一标识。我们在引用其他第三方库的时候,也是通过这3个变量确定。例如,依赖commons-logging。
java
安装 java brew install java11。
或是从官网下载openjdk
通常一个环境有多个jdk版本。
sudo ln -sfn /usr/local/opt/jdk-11.0.9.jdk/libexec/openjdk.jdk /Library/Java/JavaVirtualMachines/openjdk-11.jdk

➜  JavaVirtualMachines ll
total 0
drwxr-xr-x  3 root  wheel  96 Aug  9  2018 jdk-10.0.2.jdk
lrwxr-xr-x  1 root  wheel  45 May 27 10:22 jdk-11.0.9.jdk -> /usr/local/opt/openjdk@11/libexec/openjdk.jdk
➜  JavaVirtualMachines pwd
/Library/Java/JavaVirtualMachines

# 使用 jdk 11
➜ export JAVA_11_HOME="/Library/Java/JavaVirtualMachines/jdk-11.0.9.jdk/Contents/Home"

➜ java  --version
openjdk 11.0.9 2020-10-20
OpenJDK Runtime Environment (build 11.0.9+11)
OpenJDK 64-Bit Server VM (build 11.0.9+11, mixed mode)

# 使用jdk 10 ,方法类似
实践:SpringCloud + K8s
需要一个k8s集群,可以通过kind快速构建一个K8s集群。
- 创建SpringBoot应用
mkdir /tmp/test && cd /tmp/test

curl https://start.spring.io/starter.tgz -d dependencies=webflux,actuator | tar -xzvf -
打包
./mvnw install
在执行这一步的时候,如果报错,一般是java版本不对,可以在本地运行 java --version 查看java版本,然后修改pom.xml文件中的版本,保持一致。重新运行即可。
此时会打包出jar包:
➜  test ls target/*jar
target/demo-0.0.1-SNAPSHOT.jar
打包出的jar可以直接运行:
➜ java -jar target/demo-0.0.1-SNAPSHOT.jar

...
 :: Spring Boot ::                (v2.5.0)

2021-05-27 07:40:10.580  INFO 90817 --- [           main] com.example.demo.DemoApplication         : Starting DemoApplication v0.0.1-SNAPSHOT using Java 10.0.2 on zack with PID 90817 (/private/tmp/test/target/demo-0.0.1-SNAPSHOT.jar started by hugo in /private/tmp/test)
2021-05-27 07:40:10.584  INFO 90817 --- [           main] com.example.demo.DemoApplication         : No active profile set, falling back to default profiles: default
2021-05-27 07:40:14.716  INFO 90817 --- [           main] o.s.b.a.e.web.EndpointLinksResolver      : Exposing 1 endpoint(s) beneath base path '/actuator'
2021-05-27 07:40:15.620  INFO 90817 --- [           main] o.s.b.web.embedded.netty.NettyWebServer  : Netty started on port 8080
2021-05-27 07:40:15.641  INFO 90817 --- [           main] com.example.demo.DemoApplication         : Started DemoApplication in 9.561 seconds (JVM running for 10.732)
2021-05-27 07:40:15.642  INFO 90817 --- [           main] o.s.b.a.ApplicationAvailabilityBean      : Application availability state LivenessState changed to CORRECT
2021-05-27 07:40:15.647  INFO 90817 --- [           main] o.s.b.a.ApplicationAvailabilityBean      : Application availability state ReadinessState changed to ACCEPTING_TRAFFIC
本地访问:
➜  ~ curl 127.0.0.1:8080/actuator | jq .

{
  "_links": {
    "self": {
      "href": "http://127.0.0.1:8080/actuator",
      "templated": false
    },
    "health-path": {
      "href": "http://127.0.0.1:8080/actuator/health/{*path}",
      "templated": true
    },
    "health": {
      "href": "http://127.0.0.1:8080/actuator/health",
      "templated": false
    }
  }
}
使用mvn工具打包成 docker image:
./mvnw spring-boot:build-image
在打包过程中报错:
[INFO] ------------------------------------------------------------------------
[ERROR] Failed to execute goal org.springframework.boot:spring-boot-maven-plugin:2.5.0:build-image (default-cli) on project demo: Execution default-cli of goal org.springframework.boot:spring-boot-maven-plugin:2.5.0:build-image failed: Builder lifecycle 'creator' failed with status code 145 -> [Help 1]
[ERROR]
[ERROR] To see the full stack trace of the errors, re-run Maven with the -e switch.
[ERROR] Re-run Maven using the -X switch to enable full debug logging.
[ERROR]
[ERROR] For more information about the errors and possible solutions, please read the following articles:
原因是使用的jdk版本不对,需要改成jdk 11 问题解决。
本地使用docker验证包是否正确:
docker run -p 8080:8080 demo:0.0.1-SNAPSHOT
将包推送到dockerhub
docker tag demo:0.0.1-SNAPSHOT zackzhangkai/springboot-demo
docker push zackzhangkai/springboot-demo
部署到k8s:
kubectl create deployment demo --image=zackzhangkai/springboot-demo --dry-run -o=yaml > deployment.yaml

echo --- >> deployment.yaml

kubectl create service clusterip demo --tcp=8080:8080 --dry-run -o=yaml >> deployment.yaml

kubectl apply -f deployment.yaml
pod运行正常:
➜ k get all
NAME                       READY   STATUS    RESTARTS   AGE
pod/demo-cbfbbb468-8tsnl   1/1     Running   0          21s

NAME                 TYPE        CLUSTER-IP       EXTERNAL-IP   PORT(S)    AGE
service/demo         ClusterIP   10.96.85.118     <none>        8080/TCP   3m5s
service/httpbin      ClusterIP   10.106.184.251   <none>        80/TCP     13d
service/kubernetes   ClusterIP   10.96.0.1        <none>        443/TCP    14d

NAME                   READY   UP-TO-DATE   AVAILABLE   AGE
deployment.apps/demo   1/1     1            1           3m5s

NAME                              DESIRED   CURRENT   READY   AGE
replicaset.apps/demo-5764cc69b6   0         0         0       3m5s
replicaset.apps/demo-69f5bfd966   0         0         0       64s
replicaset.apps/demo-cbfbbb468    1         1         1       21s
暴露svc:
kubectl port-forward svc/demo 8080:8080
验证:
➜  ~ curl 127.0.0.1:8080/actuator
{"_links":{"self":{"href":"http://127.0.0.1:8080/actuator","templated":false},"health-path":{"href":"http://127.0.0.1:8080/actuator/health/{*path}","templated":true},"health":{"href":"http://127.0.0.1:8080/actuator/health","templated":false}}}%                                                                                                                                          ➜  ~ curl 127.0.0.1:8080/actuator | jq .
  % Total    % Received % Xferd  Average Speed   Time    Time     Time  Current
                                 Dload  Upload   Total   Spent    Left  Speed
100   243  100   243    0     0   7147      0 --:--:-- --:--:-- --:--:--  7147
{
  "_links": {
    "self": {
      "href": "http://127.0.0.1:8080/actuator",
      "templated": false
    },
    "health-path": {
      "href": "http://127.0.0.1:8080/actuator/health/{*path}",
      "templated": true
    },
    "health": {
      "href": "http://127.0.0.1:8080/actuator/health",
      "templated": false
    }
  }
}
由于这个应用是监听所有的端口,所以可以直接访问 127.0.0.1
➜  ~ netstat -natl | grep 8080
tcp6       0      0  ::1.8080                                      ::1.51355                                     ESTABLISHED
tcp6       0      0  ::1.51355                                     ::1.8080                                      ESTABLISHED
tcp6       0      0  ::1.8080                                      ::1.51354                                     ESTABLISHED
tcp6       0      0  ::1.51354                                     ::1.8080                                      ESTABLISHED
tcp6       0      0  ::1.8080                                      *.*                                           LISTEN
tcp4       0      0  127.0.0.1.8080         *.*                    LISTEN
至此,完成了 springboot在Kubernetes上的实践。